Note: the instructions below show screenshots from an iPhone or iPod touch, but the process to set up email on your iPad is exactly the same.
- From the home screen, open the Settings app.

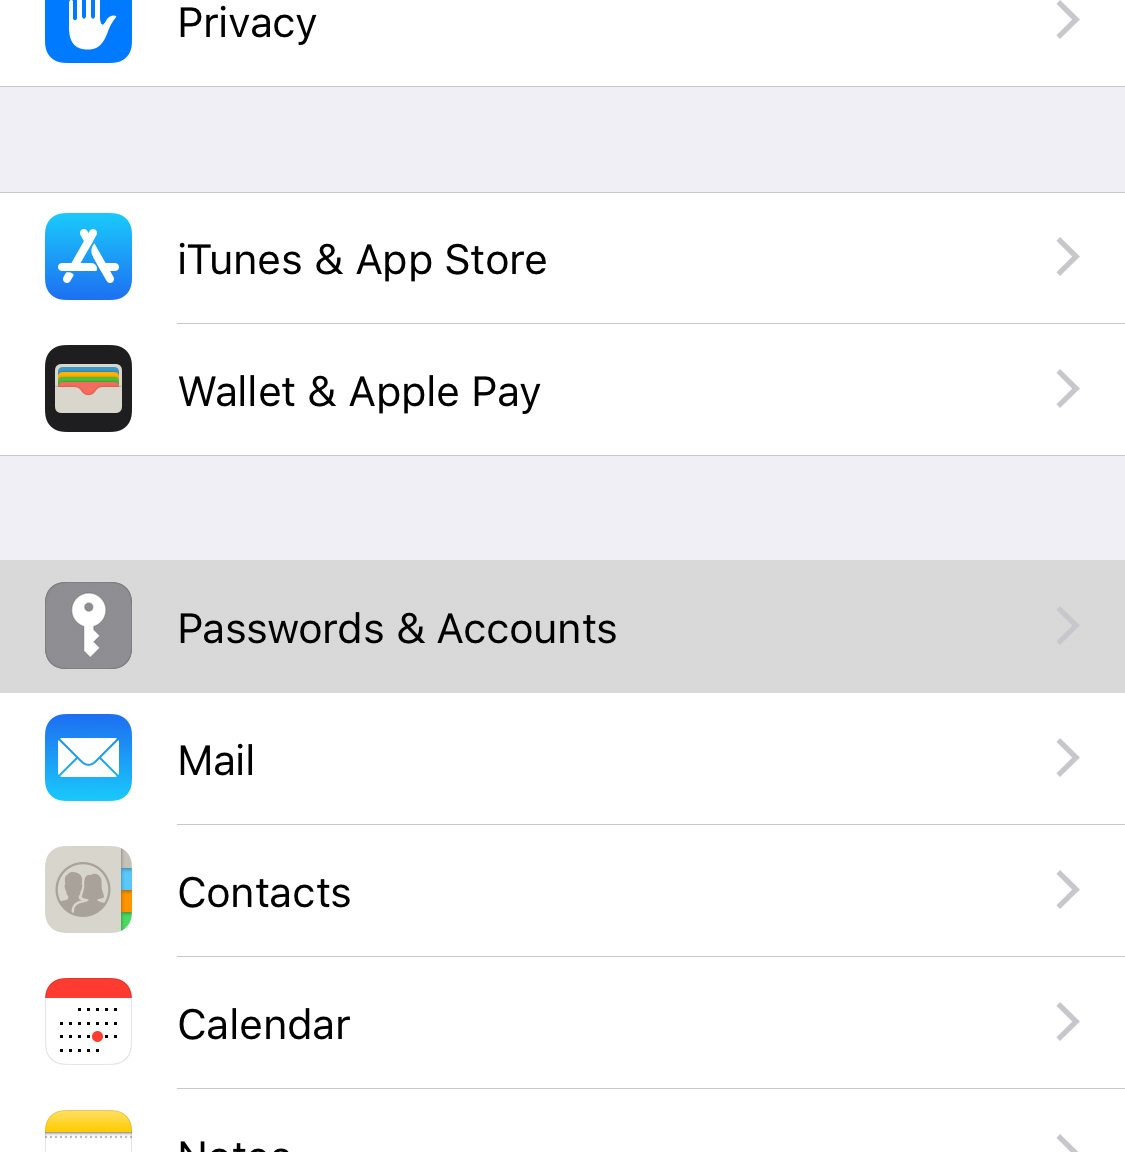
- Select Passwords & Accounts.
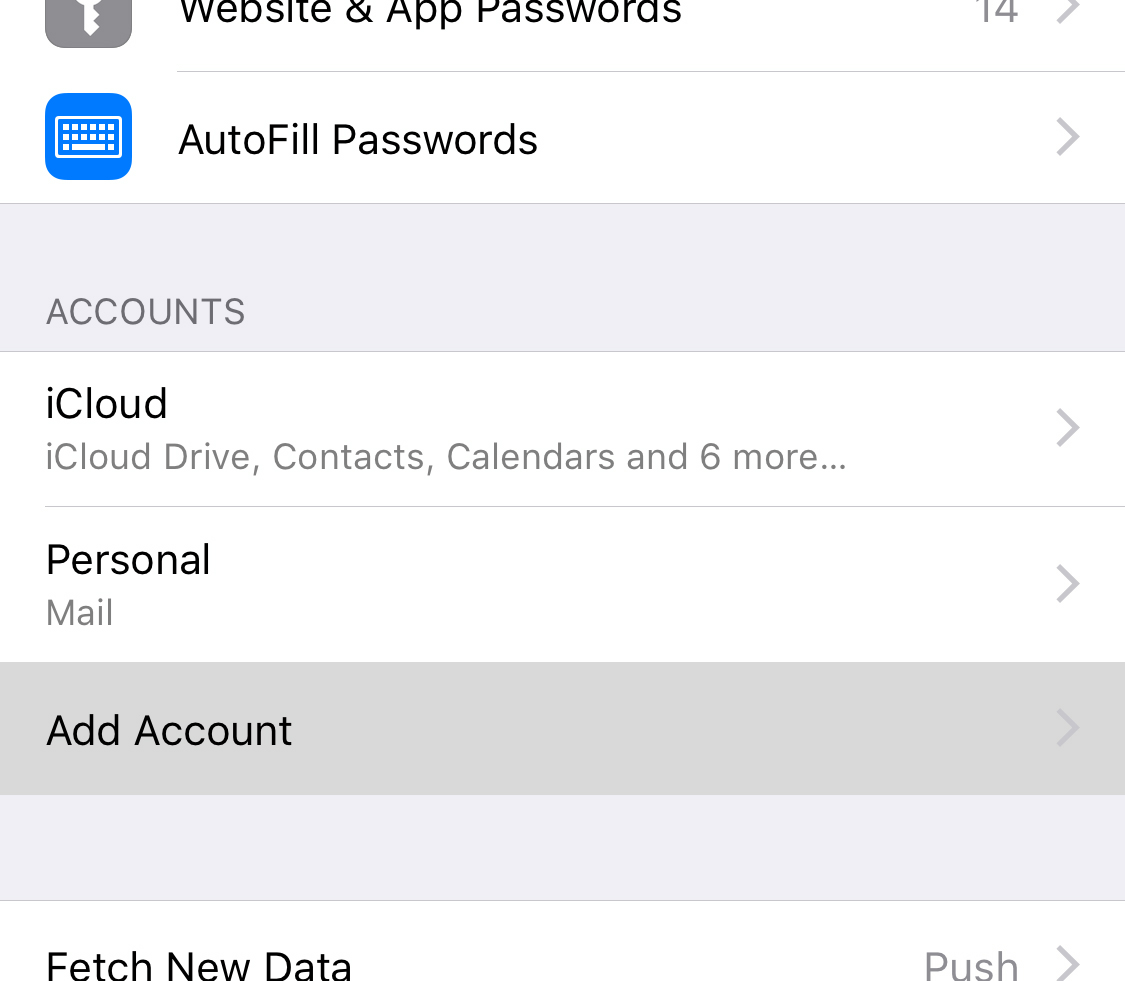
- Select Add Account.
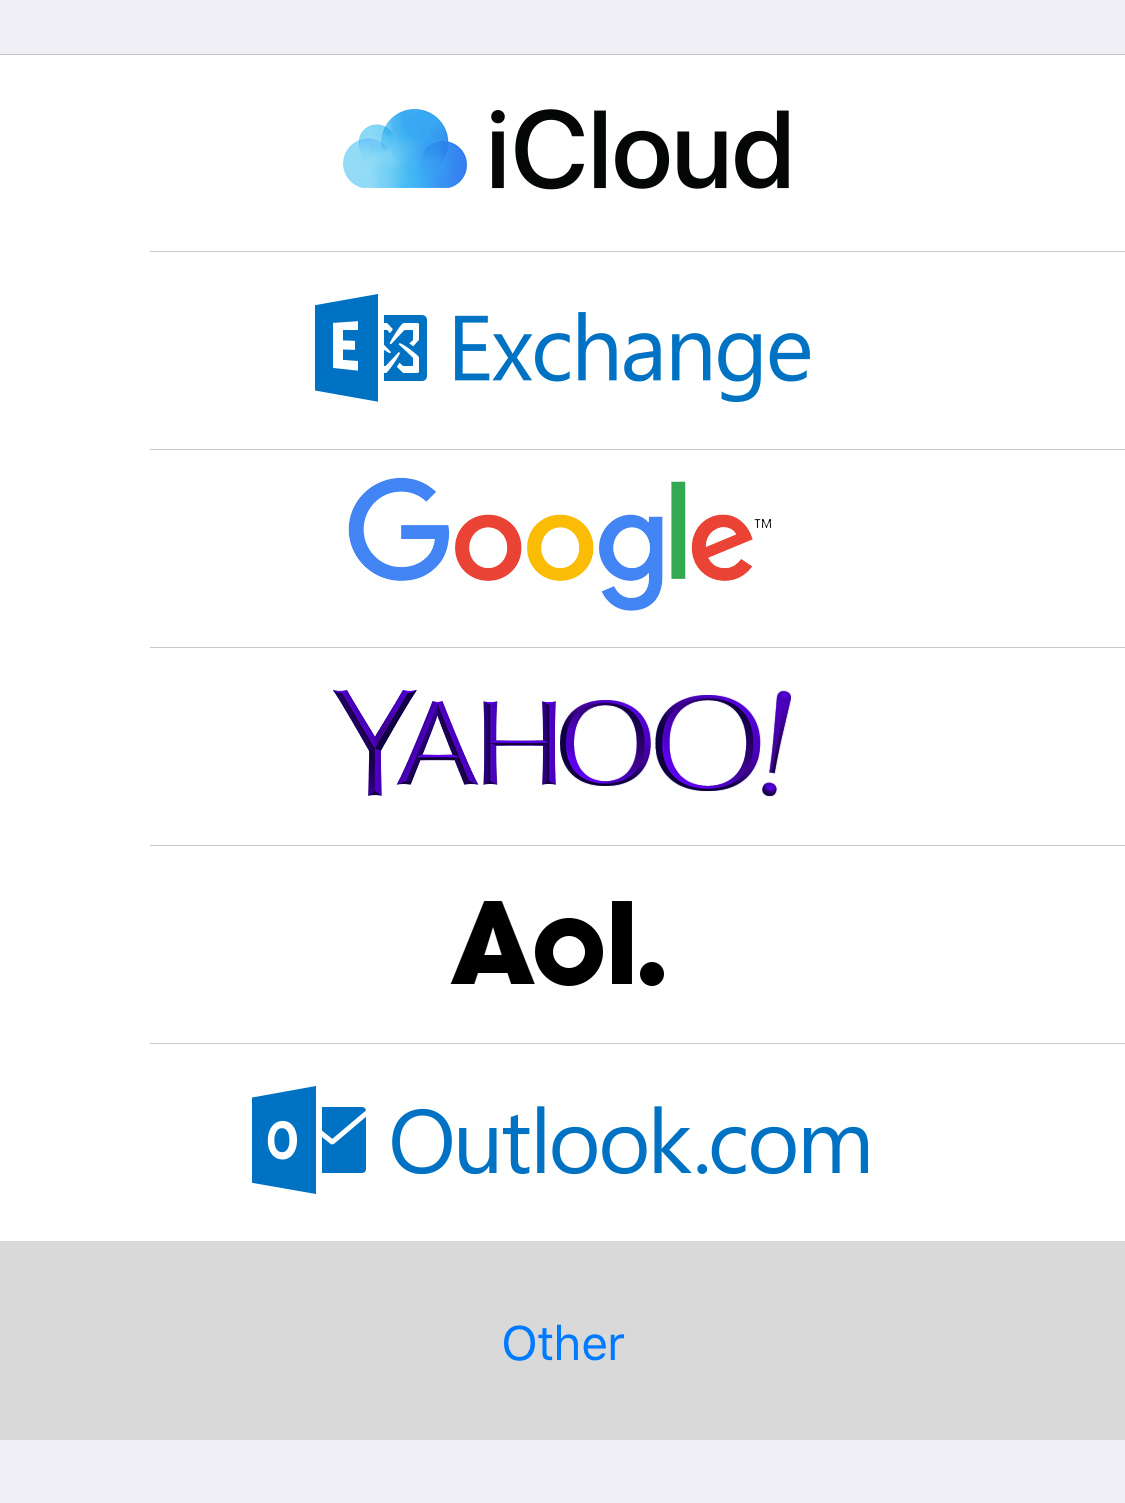
- Select Other.
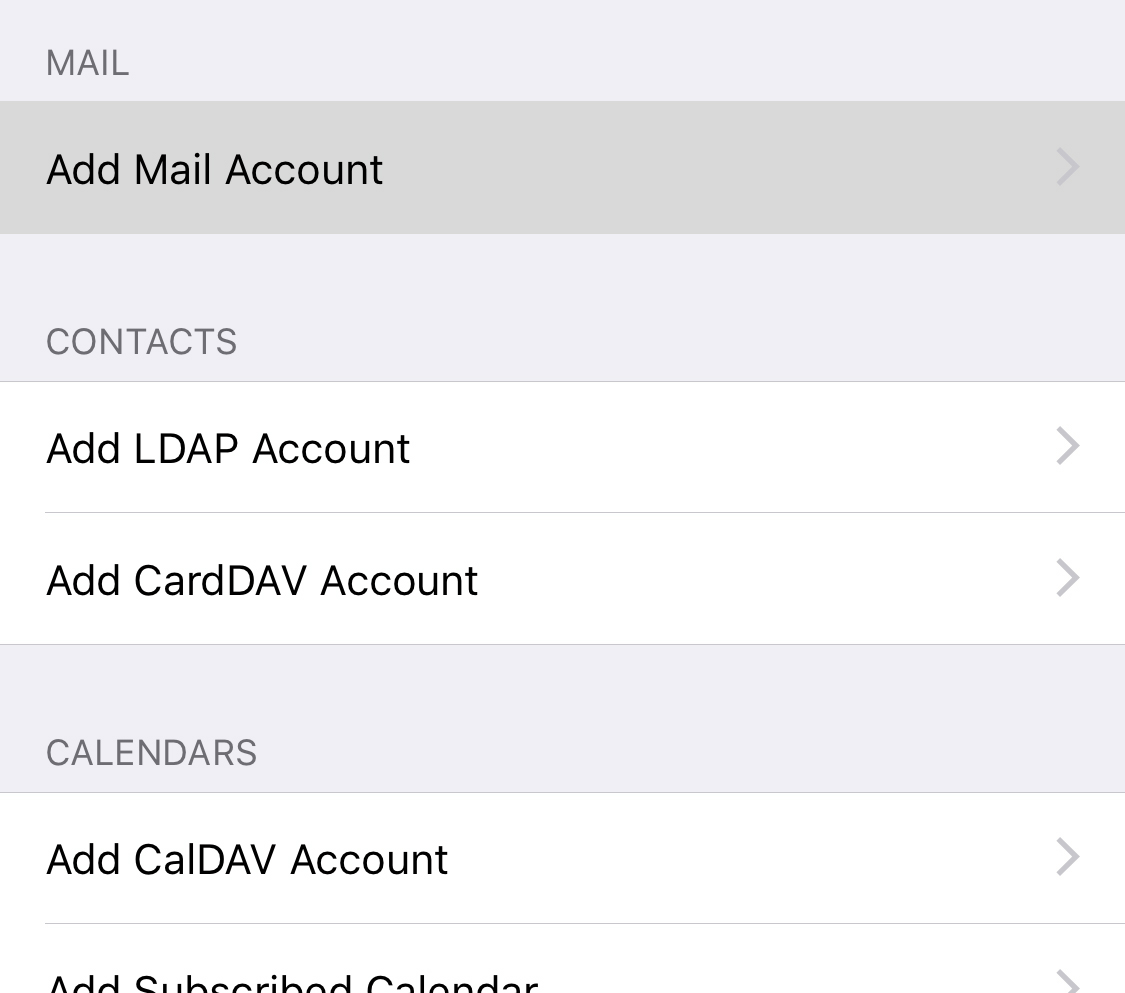
- Select Add Mail Account.
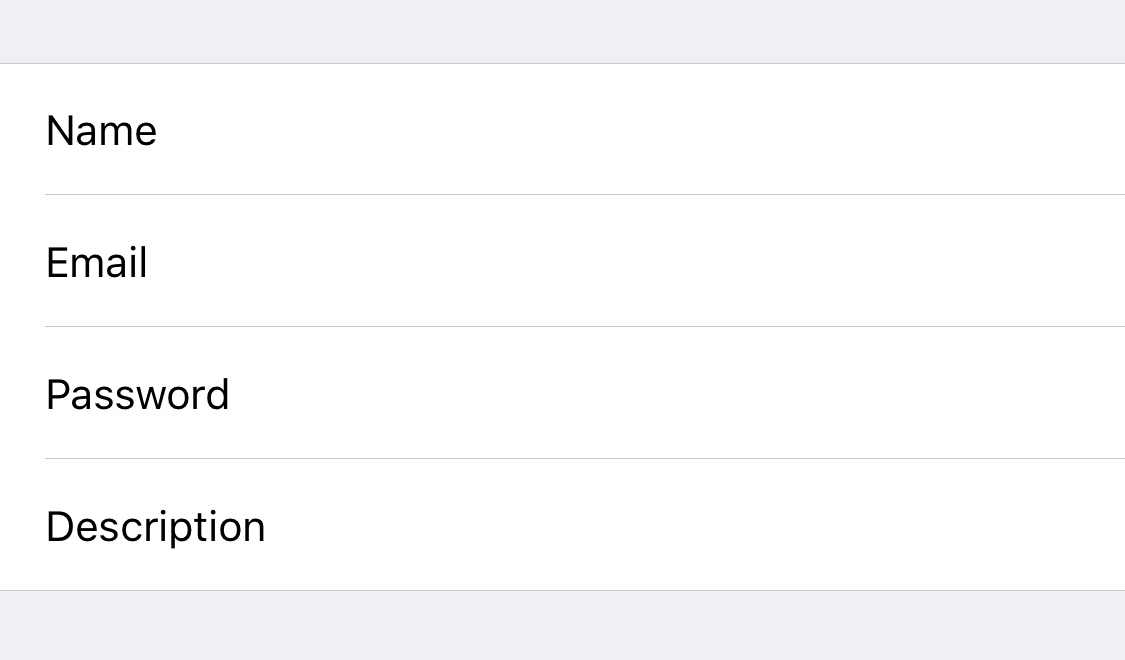
- On the next screen, enter the following information:
- Name: the name you would like email recipients to see
- Email: [your email address]
- Password: [your email password]
- Description: [HOST.NAME]
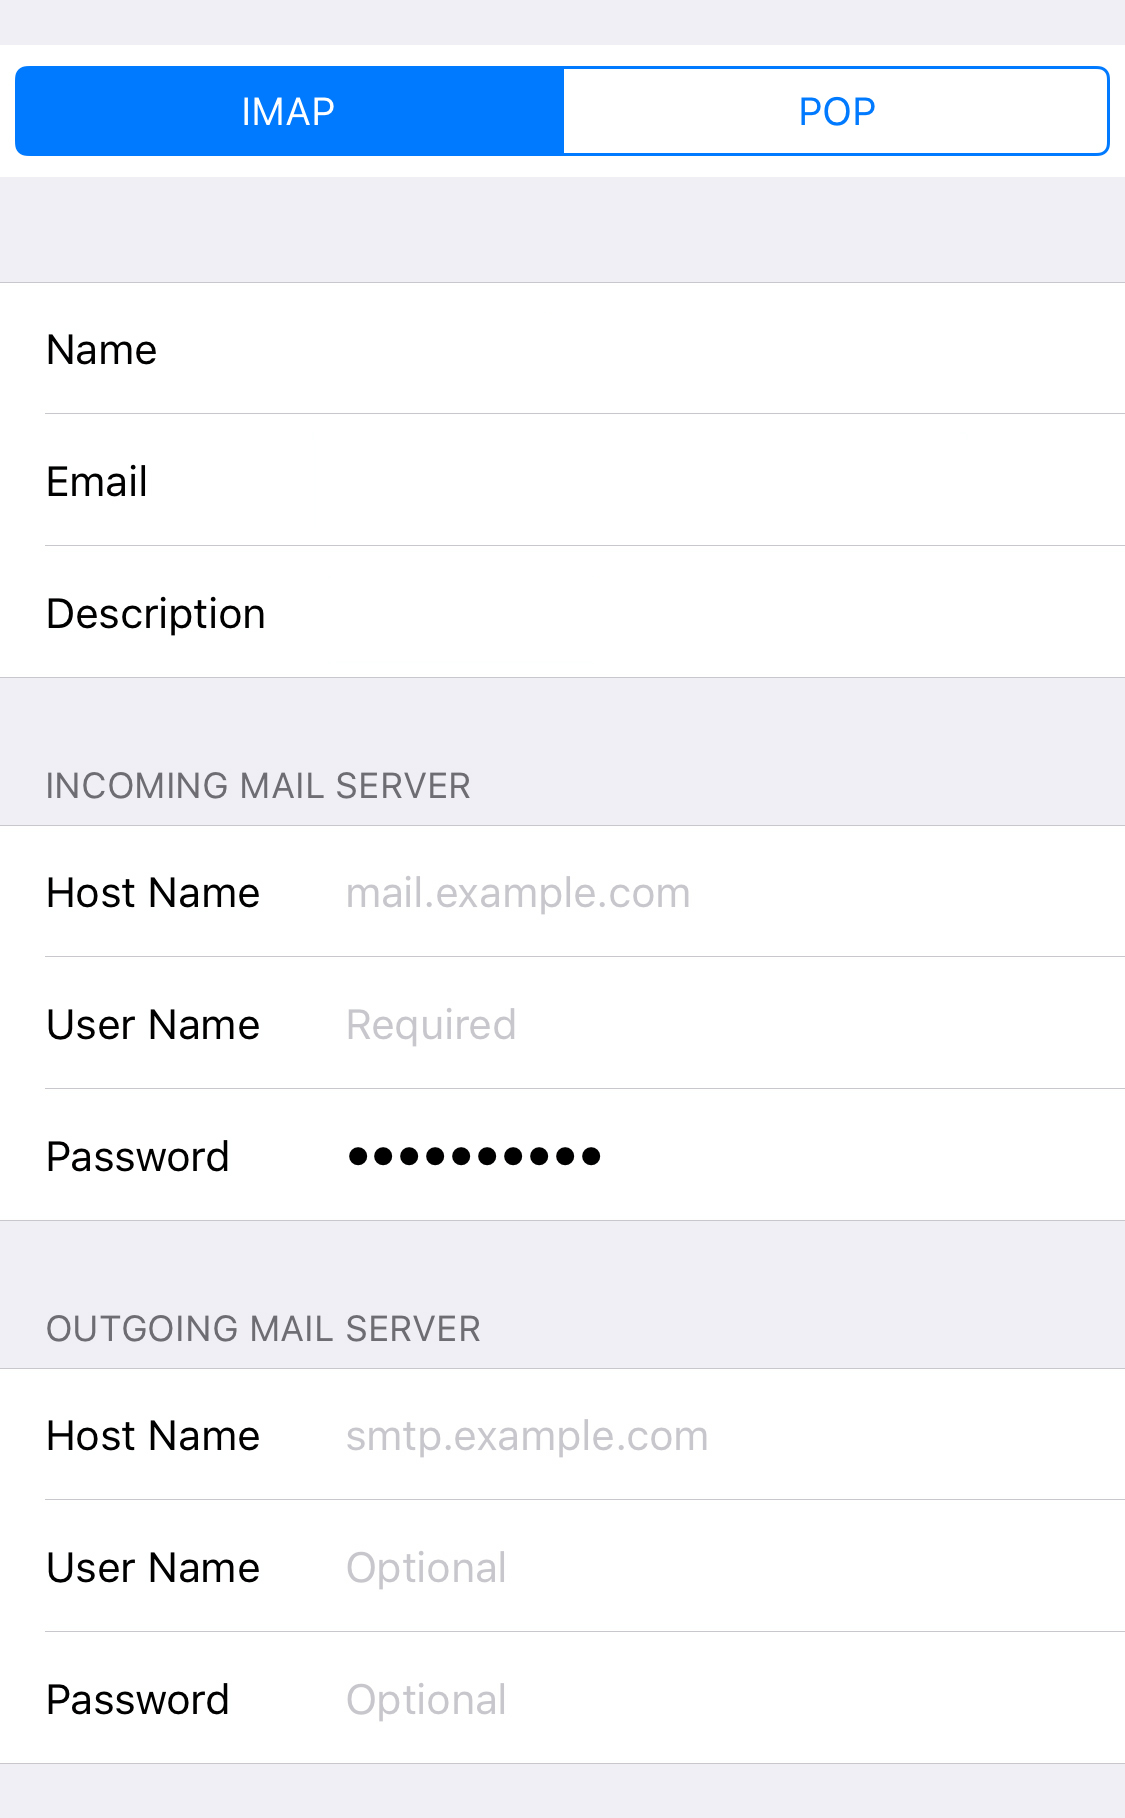
- On the next screen, select IMAP (preferred) or POP and enter the following information, then select Next in the top right corner:
- Name: the name you would like email recipients to see
- Email: [your email address]
- Description: [HOST.NAME]
Incoming Mail Server
- Host Name: mail.b.hostedemail.com
- User Name: [your email address]
- Password: [your email password]
Outgoing Mail Server
- Host Name: mail.b.hostedemail.com
- User Name: [your email address]
- Password: [your email password]
- Your device will now test the server settings you entered. If you see a pop-up message regarding the server certificate, select Continue.
- Your iPhone email setup is now complete!
|
| |
|
Related Articles:
 Send and Receive Email in Mac OS X Mail (10.5 Leopard and higher) Send and Receive Email in Mac OS X Mail (10.5 Leopard and higher)
Send and Receive Email in Mac OS X Mail (10.4 Tiger)
Unable to Send Email - Port 25 Blocked
|
| |
Attachments:
 7.jpg 7.jpg
6.jpg
5.jpg
4.jpg
3.jpg
2.jpg
1.jpg
|
| |
Was this article helpful?
| |
|
| |
|
|
| Solution #: | 6131544 | | Category: | Domain & Email > Email > iPhone / iPod Touch | | Type: | Knowledge Base | | Status: | Published |
|
