|
Setup Instructions for PayPal Advanced
To become a member of PayPal Advanced, you must apply. Click here to apply to be a member of PayPal Advanced. At this time, PayPal Advanced is only available for users in the United States.
IMPORTANT: When applying for PayPal Advanced, you will create account credentials for PayPal Manager. Ensure that you make a note of these login details as you will need them to complete the PayPal Advanced setup via PayPal Manager once your account has been approved.
Once you are approved, you will use PayPal Manager to set up your payment processor.
1. Using your PayPal Advanced login credentials that you noted during the application process, log in to PayPal Manager.
Partner: paypal
Merchant Login: [created during PayPal Advanced signup]
User: [leave this field blank]
Password: [created during PayPal Advanced signup]
If you are missing any of this information, you will need to contact PayPal. Log in to your PayPal account at PayPal.com and click 'Contact Us' at the bottom of the page.
** Note that the 'Partner' field will be specific to your country. For US customers, this is simply 'paypal'. For Canadian customers, this is 'paypalca'. If you are not sure what your Partner value should be, please contact PayPal support.
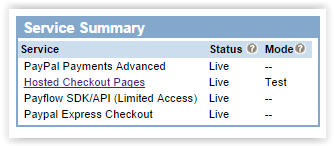
2. In the menu on the right side of the page, under "Service Summary", click Hosted Checkout Pages.
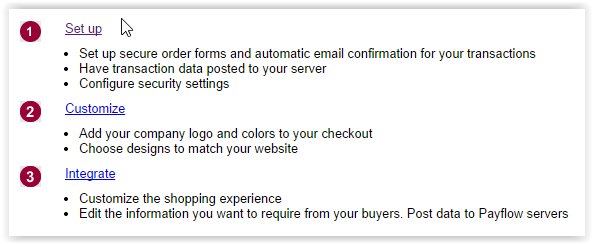
3. On the next page, click Set Up.
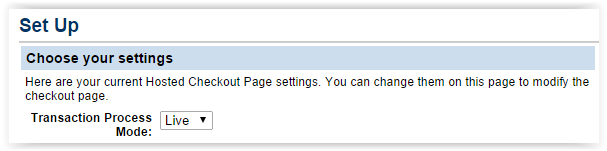
4. Under "Choose Your Settings", set the Transaction Process Mode to Live.
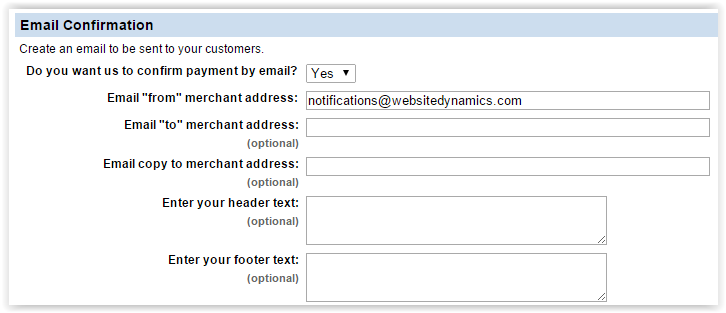
5. Under "Email Notifications", we recommend turning this option on. This will ensure that your customers get a confirmation email from PayPal confirming their successful payment. Set the dropdown to "Yes" and enter an email address to be used as the "From" address. You can use notifications@websitedynamics.com or provide your own. The rest of the email fields are optional and allow you to customize the notification email if you wish.
6. At the bottom of the page, under "Security Options", set Enable Secure Token to Yes.

7. Click Save Changes.
Next, we'll set up the PayPal Advanced account with your website.
8. Log into your website and navigate to Edit Store > Payment Processor. Under "Gateway", select PayPal Payments Advanced, and enter your login details:
Username: [your PayPal Manager account username]
Password: [your PayPal Manager account password]
Partner: paypal
9. Click Save.
That's it! Your shopping cart is now set up to process your payments via PayPal Payments Advanced.
| 
